
Do you hear unusual noises coming from your engine, experience rough idling, or notice decreased engine performance? These symptoms could be indicators of a failing rocker arm. But fear not, as this guide is your roadmap to resolving the issue. Today, we will walk you through the entire process, including how to diagnose the problem and how to replace rocker arms in your vehicle, step by step. By the time you finish reading, you’ll not only have saved money but also gained valuable insights into your car’s inner workings.
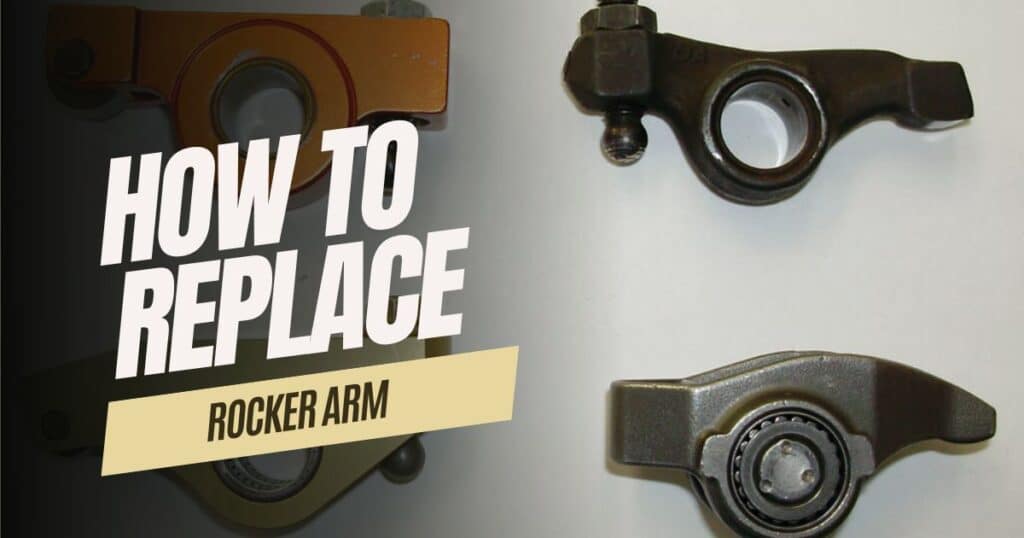
How To Replace Rocker Arms
Step 1: Diagnosing the Issue
Before jumping into the replacement process, it’s crucial to identify the problem correctly. If you suspect that a rocker arm needs replacementdue due to any matching symptoms of a faulty rocker arm, start by checking the orientation of the cam lobe. Ensure that the cam lobe is facing upward. If it isn’t, you’ll need to rotate the engine carefully until it is in the correct position. This is a critical first step to guarantee a successful replacement.
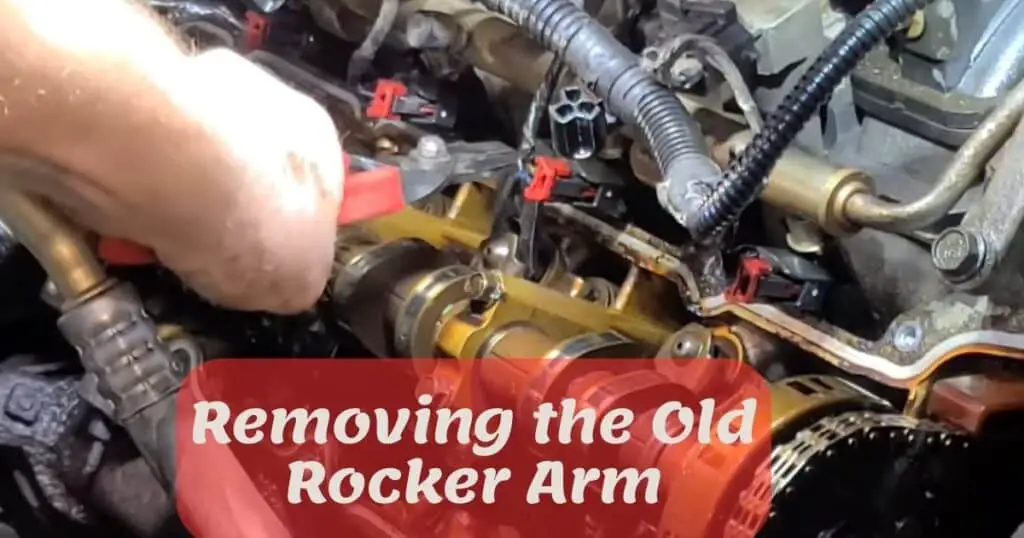
Step 2: Removing the Old Rocker Arm
To remove the old rocker arm, you’ll require a prying tool. This tool is used to gently push down on the lifter while simultaneously pushing it to the side. This action releases the rocker arm, allowing for its effortless removal. Be patient and cautious during this step to avoid damaging any components.
Step 3: Selecting the Appropriate Tools
While a prying tool is essential for removing the rocker arm, you might consider using a panel tool. Some individuals attempt to use fork tools, but these can be cumbersome and may obstruct the process. Selecting the right tools can make the task more manageable and less prone to complications.
Step 4: Installing the New Lifter
With the old rocker arm removed, it’s time to install the new lifter. Carefully position the lifter in place, preparing it for the reinstallation of the rocker arm. Ensure that the lifter is correctly seated before proceeding.
Step 5: Reinstalling the Rocker Arm
Reinstalling the rocker arm is a critical step in this process. Follow these steps meticulously:
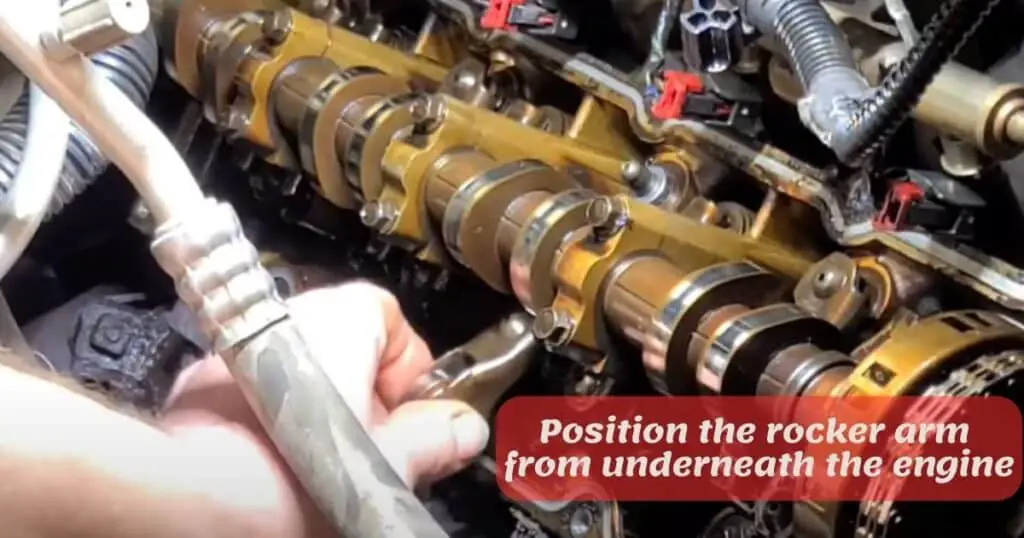
- Position the rocker arm from underneath the engine, aligning it with its designated location.
- Secure the rocker arm into place.
- Utilize a pry bar or a similar tool to gently push the rocker arm upward into its proper position.

It is essential to confirm that the base circle of the rocker arm is at the bottom while the cam lobe is positioned upward. This precise alignment is crucial for the engine’s optimal functionality.
Step 6: Final Steps
As you near the completion of the process, there are a few additional tasks to address:
- Thoroughly clean the valve cover gasket surface, ensuring it is free of debris or residue.
- Reinstall the valve cover, taking care to angle it correctly between the AC pipes and the heater hoses before gently tilting it into place.
When reinstalling the valve cover, you will only need four studs to secure various components. Ensure that these studs are correctly positioned for their respective functions.
Step 7: Wrapping Up
With all the components back in place, including the air induction system, you are almost ready to start your vehicle. However, you may need to replace a piece of hose in the Positive Crankcase Ventilation (PCV) system, which connects to the rear of the intake manifold runner.
Step 8: Final Checks
Before hitting the road, it is essential to perform some critical checks:
- Clear any error codes that may have appeared during the repair process.
- Check for any new error codes to ensure no issues persist.
- Start the engine and listen carefully for smooth operation.
Monitor the engine closely for any signs of misfires. Ideally, all misfire counters should read zero, indicating a successful and well-executed repair.
Rocker Arms Replacement Cost:
When it comes to rocker arm replacement, understanding the potential costs involved is crucial for budgeting and making informed decisions. Here’s a breakdown of what you can expect in terms of replacement and repair costs:
1. Individual Rocker Arm Cost: The cost of a single rocker arm typically ranges between $15 and $60. The specific price can vary based on factors such as your vehicle’s make and model and whether it’s an intake or exhaust rocker arm.
2. Rocker Arm Kits: Opting for a rocker arm kit can often be a cost-effective choice. These kits typically range from $100 to $500. They not only include the rocker arms themselves but also essential components like guide plates and pushrods. If you have confidence in your DIY skills, a rocker arm kit can be a sensible option.
3. Replacing All Rocker Arms: It’s worth noting that rocker arms often wear out around the same time. Consequently, replacing all of them simultaneously is a smart approach to ensure the uniform performance of your engine. Full kits that cover all rocker arms are the most common purchase option among vehicle owners.
4. Labor Costs: One significant factor contributing to the overall expense is labor. Rocker arm replacement can be a labor-intensive task, mainly because gaining access to the necessary engine parts can be time-consuming. Hiring a professional auto mechanic or visiting a dealership for this job is common, and it’s essential to understand that skilled labor comes at a price. Expect labor costs to range from $500 to $1,500, depending on your vehicle’s make and model, the complexity of the repair, and local labor rates.
5. Additional Costs: It’s crucial to consider potential additional costs such as taxes and service fees when budgeting for rocker arm replacement. These fees can vary depending on your location and the repair facility you choose.
In summary, the total cost of rocker arm replacement comprising parts and labor can vary widely, ranging from a few hundred dollars to over a thousand dollars. The specific amount you’ll pay depends on various factors, including the number of rocker arms needing replacement, the quality of parts you select, and the complexity of the repair. To get an accurate estimate tailored to your vehicle, it’s advisable to consult with a trusted auto mechanic or repair shop. They can provide you with a precise quote and ensure that your engine continues to perform at its best.
Conclusion
Congratulations! You have completed the intricate process of replacing a rocker arm in your vehicle’s engine. This DIY task not only saves you money but also empowers you with a deeper understanding of your car’s mechanics. Regular maintenance like this can prolong your vehicle’s lifespan and keep it running smoothly. If you encounter any issues beyond your expertise, it is always wise to consult a professional mechanic. Thank you for following this comprehensive guide, and may your journeys on the road be safe and trouble-free.
Last Updated on April 1, 2026 by Rifen