
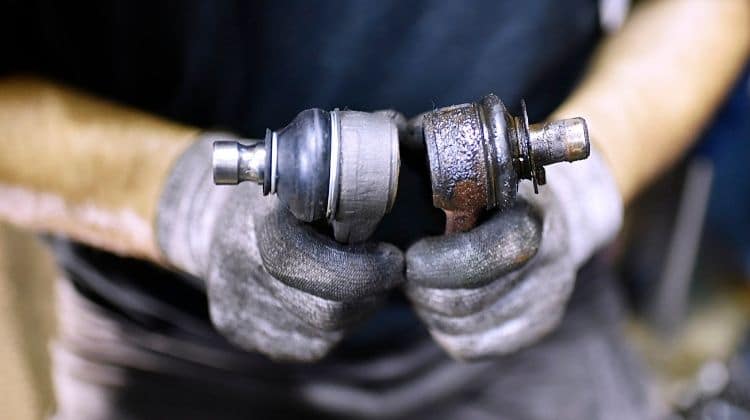
Replacing a worn-out ball joint can be done without using a ball joint press, which is good news considering how pricey ball joint presses are. But how exactly can this be done? In this article, we will look at how to remove a ball joint without a press.
And also, the topic related to that is how to put a ball joint in without a press. But before we get into it, it is essential to note that certain ball joints cannot be removed without a press. These are usually ball joints found in suspension systems with a pressed-in control arm.
If you have pressed-in ball joints, you may want to consult a professional or get a ball joint press to remove them. However, if yours are bolt-on type of joints, you can easily remove them without a press, and here is how.
Proces Of How To Remove A Ball Joint Without A Press
Here you will learn how to replace a ball joint without a press. If you are confident to do it yourself you may proceed. But if you have doubt we advise you to seek professional help to replace the upper and lower control arm. However, you may find obstacles in removing ball joints by yourself, if you find difficulty please seek professional help.
Tools You Required:
1. Jack Stand
2. Piece of Strong Flat Wood
3. Rubber mallet/ Hammer
4. WD40 Or any Cleaner
5. Blow Torch
6. Pickle Fork
7. Grease
8. Metric socket set
9. Ratchet and extension
10. Pry Bar
11. Torque Wrench For Reinstalling like factory Specs.
Step 1: Identify The Ball Joints
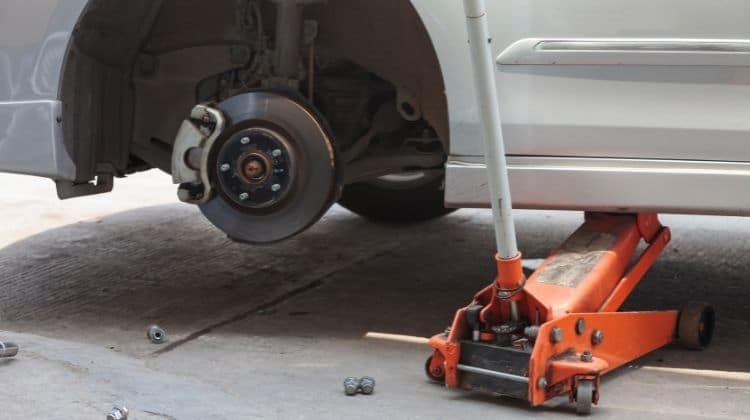
The first step is to identify the ball joint you want to remove. You will also want to check whether you have a strut-style or a control-type arm. If your vehicle has the latter, place a jack under it near the ball joint. Check to see whether the wheel is moving or if there is space between the joints. If you notice space, then the joint needs to be replaced.
Step two: remove the wheel
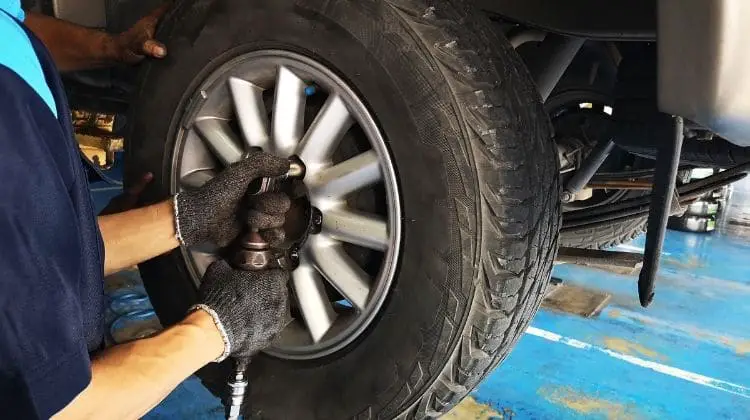
The next step is to remove the wheel. Before embarking on this step, ensure your jack is well-positioned and on a flat surface. Remove the lug-nuts on the wheel to remove it.
Step Three: Make room By Removing Brake Caliper
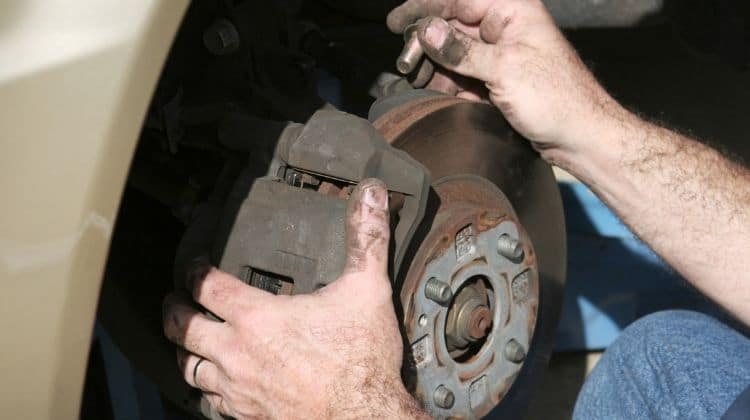
In some vehicle models, you may have to move the brakes aside. If this is the case for your vehicle, disconnect them and hang them on a wire. Do not dangle them by the brake lines. Once you have enough room to remove the ball joints, it is time to proceed.
Step Four: Place the jack under the lower control arm
If you are wondering how to remove the lower ball joint without a press, then here is how. You will want to position the jack under the axle hub. It is advisable to put a piece of wood between the axle hub and the jack.
Then raise the hub a bit. With the axle hub raised, you should be able to separate the bottom part from the top part of the joint by hammering. You will have to hit from different angles and check where you are hammering.
You should hear a sound when the joint becomes loose. This applies to lower ball joints; you need to locate the upper control arm assembly for upper ball joints. Typically it is located at the top of a vehicle’s front suspension system.
Step Five: clean and check for other damage
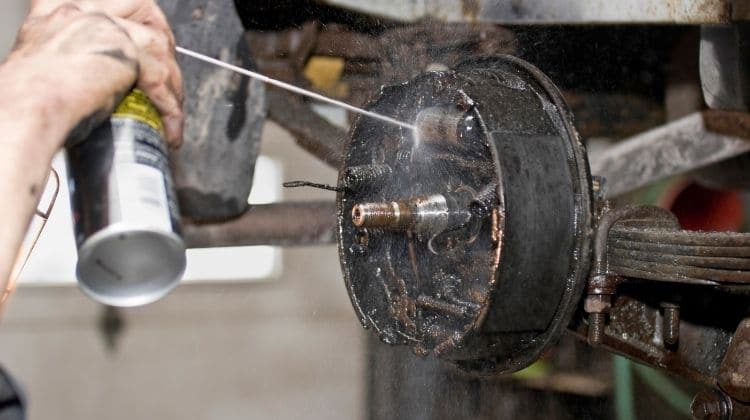
The suspension system is exposed to all kinds of dirt and debris. So you should expect a lot of it on the control arm and ball joint. To remove the ball joint, easily clean the surface of the arm with a cleaner. Also, take this time to inspect other joints for damage.
Step Six: Remove the ball joint
Once the area around the joint is clean, it is time to remove it. You will notice what is called a castellated nut, which is called so because the top looks like a castle chess piece. Some models will feature a pinch bolt.
Remove the bolt first before trying to loosen the castellated nut. To make work easier, apply heat around the ball joint. When it is warm, it will be easier to hammer out. The ball joint is usually tightly fit into the upper part of the steering knuckle. As such, you may require a pickle fork in addition to a hammer.

The tight fit is essential to securing the ball joint in place. Also, you may want to place the ball joint end on an anvil before hitting the castellated nut. The anvil will not absorb impact and make it easier to hammer out the ball joint.
Next, place a spacer under the ball joint and put it on top of the anvil. Give the castellated nut a good hit. You may have to hammer it twice or thrice before the ball joint is removed. Once it’s removed, clean the ball joint socket before installing a new ball joint. (Source)
Step Seven: Apply grease inside the ball joint knuckle wheel
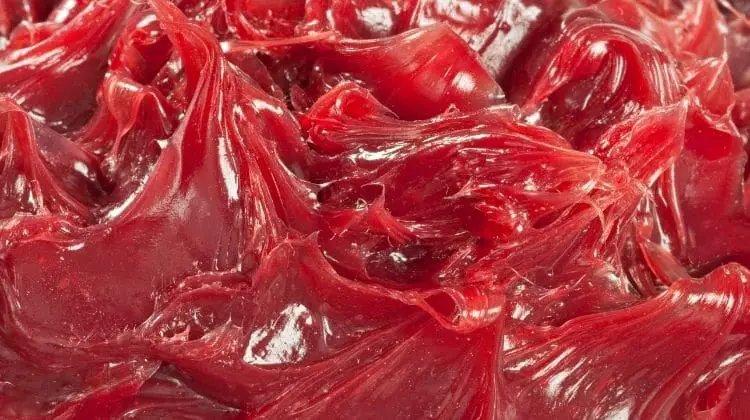
Before installing the new ball joint, it’s always a good idea to apply grease all around the inside of the knuckle wheel. This will help the new ball joint slide in smoothly. Also, place the new ball joints and all their parts in a freezer for about 30 minutes. Next, heat the knuckle hole both inside and outside.
Step Eight: Install a new ball joint
Slide the ball joint into the knuckle wheel. Next, slide the rubber boot over the stud and then push the ball joint all the way through the knuckle hole and then insert the grease fitting. Once this is done, close the joint using the hardware included in the ball joint tool kit package. The Best Ball Joints For Jeep JK and the best ball joint for jeep TJ will typically feature several components included with the ball joints.
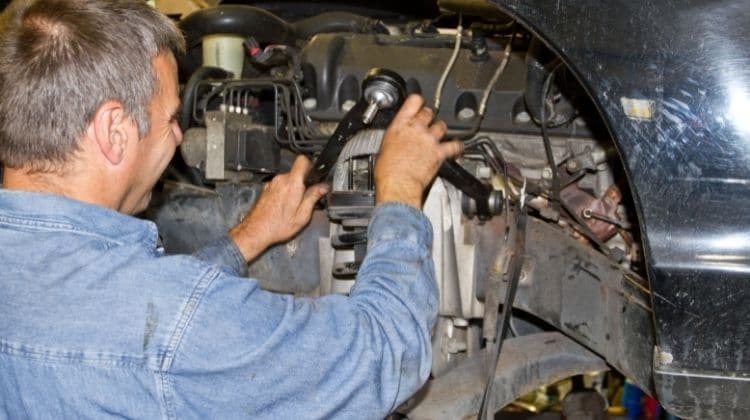
Step Nine: Reassemble the control arm and wheel assembly
Once the new ball joint is installed, you will have to reattach the control arm and all the other parts you disconnected and reattach the wheel.
Can I Replace My Dodge Ram Ball Joints Myself?
Yes, if you want to replace your ball joint with the Best Ball Joints For Dodge Ram 2500 & 3500, you can. The ball joints replacement process can be done without the need for a ball joint press.
Frequently Asked Questions
Can I hammer the ball joint in?
Technically you can. However, it is not advisable. Hammering the ball joint in will cause it to get damaged prematurely. Also, hammering can cause the ball joint to break. Therefore, while hammering is one of the steps to go through in installing a lower ball joint without a press, it is not advisable to install a ball joint without the correct tools.
What can be used in ball joint removal instead of a ball joint press?
Hammering a bad ball joint out is the alternative to using a joint removal tool. It may take more time and patience, but it is an alternative.
Can I hammer a ball joint out?
Yes, hammering is an alternative to using specialty tools for certain kinds of ball joints.
Conclusion
While removing ball joints using a ball joint press is always advantageous, it is not the only way. There is another way of removing ball joints for those of us who do not have access to special tools. The process itself is technical and will require prior knowledge of a car’s suspension system.
Last Updated on April 25, 2026 by Rifen