
The alternator plays a crucial role in the functioning of a Chevy 350 engine. It is responsible for generating electrical power to charge the battery and provide electricity to the various electrical components of the vehicle. Maintaining a properly functioning alternator is essential for the overall performance and reliability of the engine.
Importance of Maintaining a Properly Functioning Alternator
A properly functioning alternator ensures a consistent power supply to the vehicle’s electrical components, such as the lights, radio, and ignition system. It also keeps the battery charged, allowing the engine to start and run smoothly. A failing alternator can lead to dimming headlights, electrical system malfunctions, and, ultimately, a dead battery. Regular maintenance and prompt replacement of a faulty alternator are vital to avoid unexpected breakdowns and costly repairs.
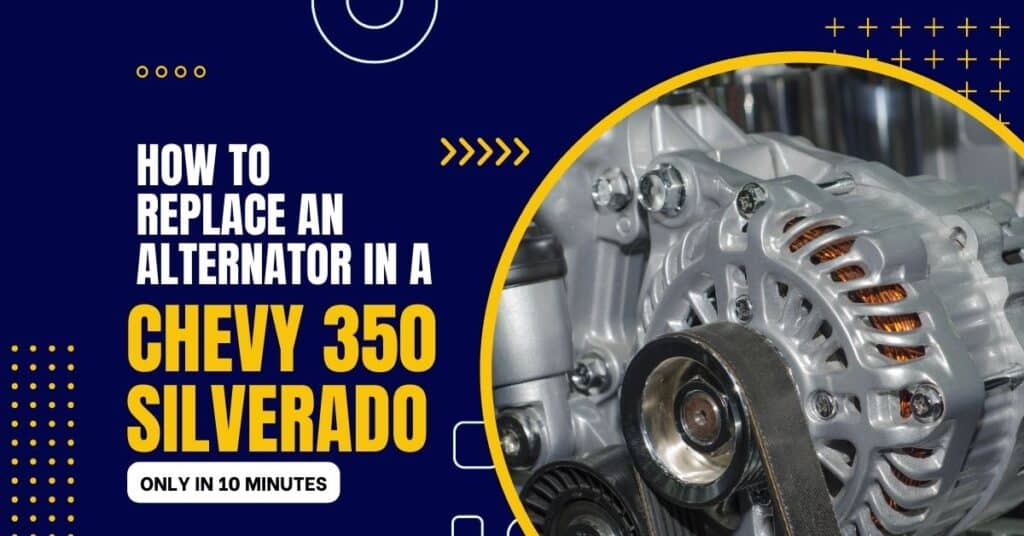
How to Replace An Alternator in a Chevy 350 Silverado
Replacing the alternator in a Chevy 350 engine is a relatively straightforward process that can be accomplished with the right tools and a systematic approach. This article will guide you through the step-by-step process of removing and replacing an alternator in a Chevy 350.
Preparing for the Replacement
Before starting the alternator replacement process, gather the necessary tools and equipment. You will need
- Socket set with various sized sockets (8 mm, 10 mm, etc.)
- Wrenches for loosening and tightening bolts
- Prybar
- Belt tensioner for releasing serpentine belt tension
Ensure you take appropriate safety precautions before working on the engine. Park the vehicle on a flat surface and engage the parking brake. Wear safety glasses and gloves to protect yourself from any potential hazards.
Locating the alternator in the Chevy 350 engine
In the Chevy 350 engine, the alternator is typically located on the driver’s side, near the front of the engine. It is usually mounted on brackets and driven by a belt connected to the crankshaft.
Step 1: Disconnecting the Battery
To begin the replacement process, disconnect the negative terminal of the battery. Use an appropriate-sized socket (8 to 10 mm) wrench to loosen and remove the nut securing the terminal in place. Set the terminal aside, ensuring it does not come into contact with the battery during the replacement process.
Step 2: Relieve the Tension
Locate the serpentine belt tensioner, typically located near the bottom of the engine. Use a wrench to release the tension from the tensioner pulley. While holding the tension with one hand, use the other hand to remove the belt from the alternator pulley.
Step 3: Remove the Alternator
Before removing the old alternator, disconnect the electrical connections:
- Identify the electrical connections attached to the alternator.
- Using a screwdriver or socket wrench, remove the nuts or bolts securing the electrical connections.
- Gently detach the electrical connections from the alternator, ensuring not to damage the wiring.
At the back of the alternator, you will find a rubber boot covering a 10 mm nut. Remove the boot to expose the nut, then remove the nut and set the wire aside. Proceed to the top of the alternator, where you will find a clip. Pull on the clip and lift it to remove it.
On the front of the alternator, there are two bolts securing it to the brackets. Use a power wrench or appropriate socket to remove these bolts. To separate the alternator from the bracket, insert a prybar between them and apply pressure until the alternator comes loose.
Step 4: Install the New Alternator
With the old alternator removed, position the new alternator onto the bracket. Insert the two bolts by hand before tightening them securely with the appropriate tool. Reattach the wire that was removed from the back of the alternator.
Before attaching the wire, it’s a good idea to clean the end for a secure connection. Once clean, slide the wire into the back of the alternator and secure it with the nut. Use a socket wrench to tighten the nut, being careful not to overtighten. Finally, replace the rubber boot.
To complete the installation, place the belt back onto the alternator pulley. Then, using the tensioner tool, release the tension and ensure the ribbed side of the belt is properly aligned with the alternator.
Step 5: Testing the Replacement
A. Reconnecting the battery
Reconnect the battery by following these steps:
- Locate the negative (-) terminal on the battery.
- Attach the negative cable to the terminal and tighten the nut using a battery terminal wrench.
B. Starting the engine and checking for proper operation
Start the engine and verify that the new alternator functions correctly:
- Turn the ignition key to start the engine.
- Listen for any unusual noises or vibrations coming from the alternator.
- Ensure that all electrical components, such as headlights and air conditioning, are working correctly.
C. Verifying the alternator’s charging output
To check the alternator’s charging output, you can use a multimeter or take the vehicle to a professional mechanic. The charging output should be within the manufacturer’s specifications.
VII. Final Steps
A. Double-checking all connections and components
Before completing the replacement process, thoroughly inspect all connections and components to ensure everything is secure and in place.
B. Clearing any error codes or warning lights
If any error codes such as P0562, P2503, P0560, or warning lights appear on the dashboard after the replacement, use an OBD-II scanner to diagnose and clear them if necessary. Sometimes bad fusible link symptoms are identical to the bad alternator if the error code doesn’t go away check the fusible link.
C. Conducting a final test drive to ensure the functionality
Take the vehicle for a short test drive to ensure that the alternator replacement was successful and that all electrical components are functioning correctly.
Conclusion
Replacing the alternator in a Chevy 350 engine is a manageable task that can be accomplished with the right tools and a systematic approach. By following the step-by-step process outlined in this article, you can successfully replace the alternator and ensure the proper functioning of your vehicle.
However, regular maintenance and inspection of the alternator, along with other vital components of the engine, are crucial for optimal performance and longevity. By addressing any issues promptly and replacing faulty parts, you can avoid potential breakdowns and costly repairs, ultimately prolonging the life of your Chevy 350 engine.
Last Updated on March 20, 2026 by Rifen